Time to read: 6 min
Vacuum Casting: Process, Applications & How It Compares
Vacuum casting (urethane casting/vacuum duplication) produces prototypes or small-series plastic parts (typically 5 to 50 pieces) with a quality comparable to injection molding. It’s a cost-effective alternative to injection molding, as it does not require expensive steel tooling.
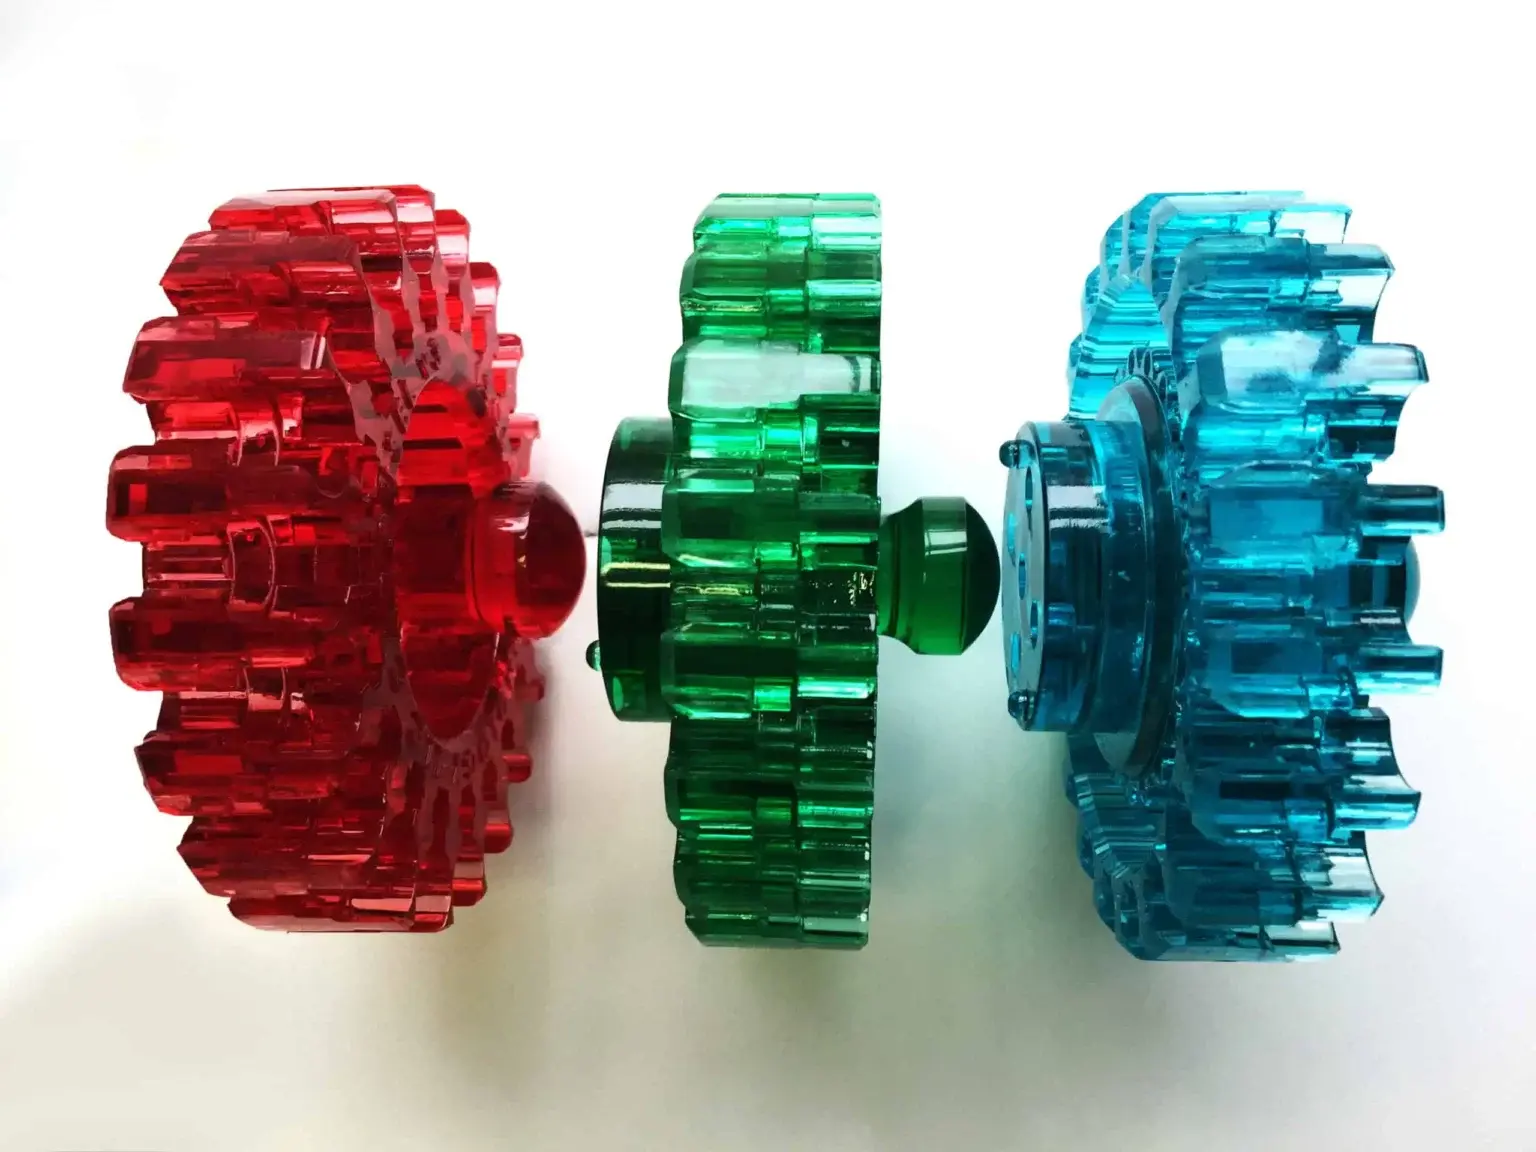
This method allows the production of aesthetic parts with good mechanical properties and high dimensional accuracy. It is commonly used in industries such as automotive (intake manifolds, exhaust systems, body panels), consumer products (toys, sports equipment), and electronics, particularly for the production of housings, battery casings, and cell holders.
What is Vacuum Casting?
Vacuum casting involves pouring liquid plastic into a silicone mold, then curing it in an oven. A vacuum chamber removes trapped air, ensuring complete cavity filling and bubble-free parts.
The process supports complex shapes, undercuts, and insert overmolding, offering excellent design flexibility. It’s ideal for pre-series parts with appearance and performance close to injection-molded components—a valuable step before mass production.
However, vacuum casting has limits. Manual operation reduces dimensional accuracy, throughput, and repeatability, making it less scalable than automated methods (see how it compares with other manufacturing processes).
| Advantages | Limitations |
|---|---|
| Wide material range: rigid/flexible, transparent, RAL-colorable resins | Possible visual flaws (e.g., gate marks, release gloss) |
| Multiple finishes available: polishing, painting, metallization | |
| Low cost for short runs: no steel tooling required | Lower dimensional precision and stability compared to CNC or injection molding |
| Injection-like quality: good aesthetics, fine details, and mechanical strength | Slower than CNC machining or 3D printing |
| High design flexibility: supports complex shapes, undercuts, overmolding | Manual process: not suited for large-scale production |
Technical Specifications of Vacuum Casting
Vacuum casting uses a vacuum to evacuate air from the mold, resulting in smooth surface finishes and minimal defects.
Below are general specifications for the process:
| Specification | Details |
|---|---|
| Materials | Select materials based on final use case: rigid (for enclosures), flexible (for seals), or transparent (for visual inspection parts). Pigment resins using RAL shades for visual prototypes. |
| Lead time | 10–20 days |
| Design flexibility | Take advantage of vacuum casting’s design freedom to test non-uniform wall thicknesses, soft curves, and aesthetic detailing without tooling constraints. |
| Minimum wall thickness | Maintain a wall thickness of at least 1.5 mm to ensure full cavity filling and avoid deformation. You can reduce to 0.75 mm in non-load-bearing areas, but expect a higher risk of warping. |
| Undercuts | Design undercuts with care. Vacuum casting can demold simple undercuts, but complex ones increase mold wear and risk tearing. Add inserts or use parting lines to simplify. |
| Quantity per mold | Typically 1 to 20 parts |
| Surface finish | Choose a glossy finish to highlight geometry or a matte texture to reduce reflections—both are achievable without post-processing. |
| Additional options | Use insert overmolding to simulate final assemblies or test part fit before investing in injection tooling. |
Tolerance values in vacuum casting depend on part dimensions and design complexity. The table below provides example tolerances based on various dimension ranges (the values provided are illustrative):
| Dimensions (mm) | 0 — 25 | 25 — 50 | 50 — 75 | 75 — 100 | 100 — 125 | 125 — 150 |
|---|---|---|---|---|---|---|
| Tolerance (mm) | ±0.3 | ±0.35 | ±0.4 | ±0.45 | ±0.5 | ±0.55 |
Pro Tip: For tight-fitting parts, keep tolerances below ±0.35 mm. Use vacuum casting for functional pre-series, then switch to CNC or injection molding for higher precision.

Vacuum Casting Compared to Other Manufacturing Processes
The table below compares vacuum casting with other common manufacturing processes—injection molding, 3D printing, and CNC machining—to help you choose the most suitable option based on production needs, materials, lead time, and cost-efficiency.
Vacuum Casting | Injection Moulding | 3D Printing | CNC Machining | |
|---|---|---|---|---|
| Description | Small batches of detailed parts resembling production quality | Mass production of highly detailed plastic parts | Rapid prototyping and complex geometries with minimal tooling | High-precision parts from metal or plastic, suitable for both prototyping and production |
| Optimal Quantity Range | 1 – 100 | 50 – 1,000,000 | 1 – 100 | 1 – 100 |
| Lead Time (available at Xometry) | 20 days | 38 days | 3 days | 7 days |
| Maximum Part Size (available at Xometry) | 2500 × 2200 × 1800 mm | 1289 × 1910 × 1006 mm | 900 x 900 x 600 mm | 2000 x 750 x 600 mm |
| Mould Life | 1 – 20 shots | 10,000 – 1,000,000 shots | – | – |
| Material Selection | Rigid plastics (ABS-like, PMMA-like, PP-like, PC-like), rubber-like plastics | Any thermosets/ thermoplastics | Plastics (PLA, ABS, PETG, Nylon, PC, etc.), resins, metals (aluminium, steel, titanium), and composites (carbon-fibre reinforced) | Metals (aluminium, steel, titanium, brass), plastics (POM, PTFE, ABS, PC, PMMA, Nylon), and composites |
| Prototyping | ?? | ? | ??? | ??? |
| High-Volume Production | ? | ??? | ? | ?? |
| Part Design Complexity | ?? | ??? | ??? | ??? |
| Standard Surface Finish | ??? | ??? | ?? | ??? |
| Post-Processing | No | No | Yes | Yes |
| Cost of Design Mistakes | Low | High | Low | Medium |
| Advantages | • Excellent for short production runs and detailed prototypes with fast lead times • Ideal for creating high-quality surface prototypes, such as robotic components or lenses, making it perfect for professional product demonstrations or exhibition samples where aesthetics are crucial | • High repeatability for consistent part quality • Ideal for large production volumes • Extensive material options to suit diverse applications • Ability to meet custom colour requirements, ensuring precise tones | • No tooling costs • Fast iteration • Great for custom geometries | • High precision • Excellent surface finishes • Supports diverse materials |
| Disadvantages | • Limited mould lifespan, typically up to 20 parts | • High upfront investment in mould tooling • High costs for mould modifications or improvements, particularly if the design is not frozen before mould production • Limited flexibility for highly complex or intricate designs | • Slower production for large batches • Limited material properties | • High cost per part for large volumes • Slower for intricate designs |
Vacuum Casting vs. Injection Molding
Use vacuum casting when you need 5–100 parts with production-like quality but want to avoid the cost and delay of steel tooling. Injection molds can cost €5,000–€50,000+, while vacuum casting only needs a master pattern and silicone mold. It’s ideal for validation, marketing, or pilot runs where fast iteration and low upfront costs matter more than tight tolerances.
Switch to injection molding once your design is final and you’re producing hundreds to millions of parts. It offers high repeatability, precise tolerances, and low part costs at scale—but demands more time, money, and commitment upfront.
Tip for designers: Start with vacuum casting to test form, fit, and finish. Switch to injection molding once your geometry, materials, and tolerances are locked in.
Vacuum Casting vs. 3D Printing
3D printing is your go-to for rapid iterations, complex internal features, and single-unit prototyping. It’s fast, tool-free, and works well early in development—especially when functional performance isn’t critical yet.
Vacuum casting comes into play when you need multiple units with production-grade appearance and mechanical properties. It offers better surface finish, material consistency, and can simulate injection-molded parts more closely.
Tip for designers: Use 3D printing to explore ideas and refine geometry. Move to vacuum casting to produce realistic samples for user testing, mechanical validation, or customer demos.
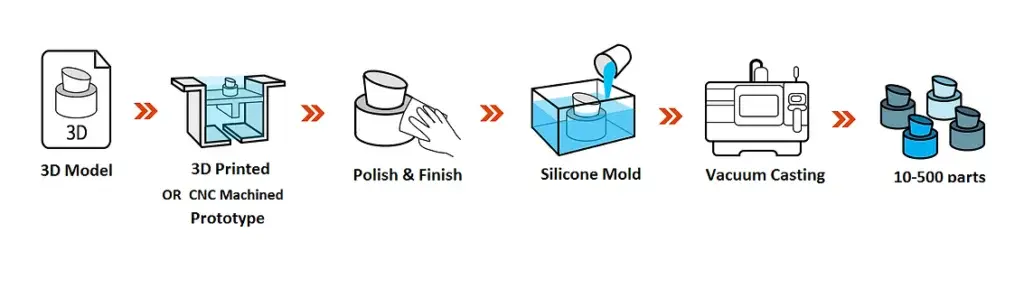
How Vacuum Casting Works
Vacuum casting uses a silicone mold and a vacuum chamber to create detailed plastic or rubber parts with smooth surfaces and minimal defects.
Here’s a step-by-step breakdown of the process:
1. Create a 3D Model
As with most modern manufacturing processes, the first step is to design a 3D model of the part.
- Use CAD software such as AutoCAD, SolidWorks, or CATIA.
- To get optimal results, follow injection molding design rules, including draft angles, uniform wall thickness, and allowances for undercuts.
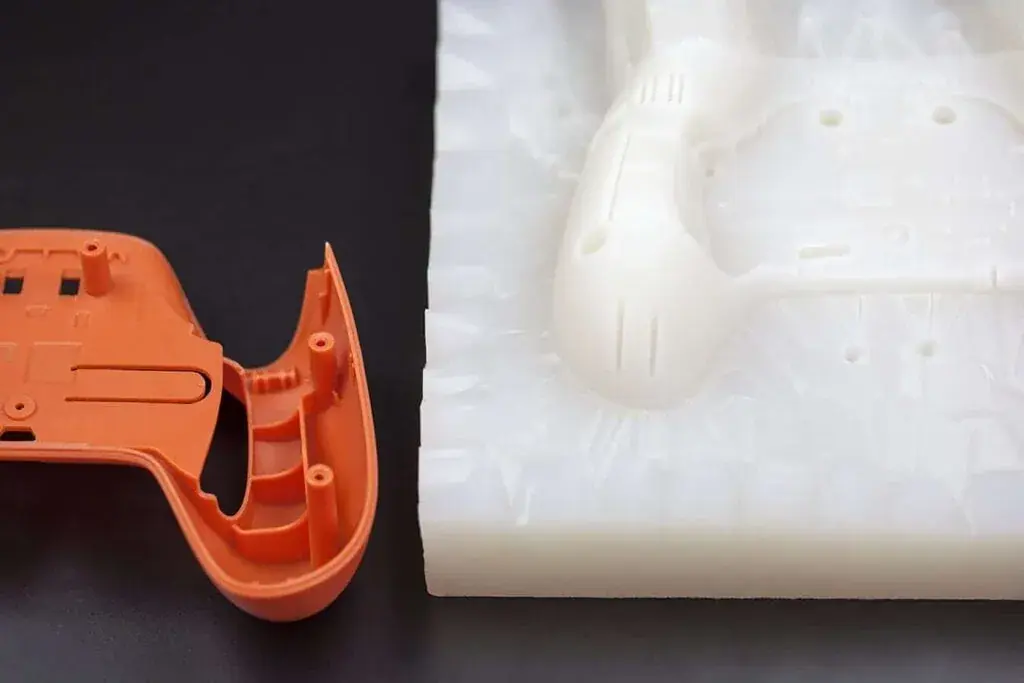
2. Build the Master Pattern
Produce a master pattern from the 3D model using SLA 3D printing or CNC machining.
- While CNC was traditionally used, it still offers higher dimensional accuracy, especially for pre-series parts.
- 3D printing speeds up prototyping and reduces cost during early design validation.
3. Create the Silicone Mold
Place the master pattern in a casting box along with any cores, inserts, and gating systems.
- Pour liquid silicone over the pattern to capture its geometry and surface details.
- Cure the mold in an oven at 40°C for 8 to 16 hours, depending on its size.
- Once cured, cut the mold open along the parting line to reveal the negative cavity.
- Apply a mold-release agent to prevent sticking and avoid surface flaws.
4. Mix and Pour the Resin
Prepare a two-component polyurethane resin and add any required pigments.
- Preheat the mixture to ~40°C for better flow.
- Install the mold in the vacuum chamber and connect the pouring gates.
- Mix and deaerate the resin under vacuum for 50–60 seconds to remove air bubbles.
- Apply vacuum to the mold so gravity fills the cavity evenly without trapped air.
5. Demold the Parts
Cure the filled mold in an oven for 1 to 4 hours, depending on the material.
- After curing, remove the hardened part from the mold, then trim gates and perform any needed finishing.
- A single silicone mold typically produces 10 to 20 parts, depending on the geometry and resin used.